
Here I share my own strategy for managing backups as a photographer using the 3-2-1 rule to ensure my photos are safe in the event of a disaster.
How much thought have you given to your backup strategy? Are you covered if your hard drive fails? What about if your backup drive breaks? On the face of it, it seems quite simple – “Make sure you backup your photos”. However, once you start digging into recommended 3-2-1 backup strategy things get a little more complex. A robust and comprehensive backup strategy needs some careful thought and planning.
Why should I backup my photos?
This ought to be obvious but before we dive into the detail let’s just touch on why we should backup our photos. A digital photograph is more than the sum of the data that’s stored on your hard drive. A photograph represents a memory, a precious moment in time, a loved one that may no longer be with you.
In the event of a disaster possessions can be replaced, memories cannot.
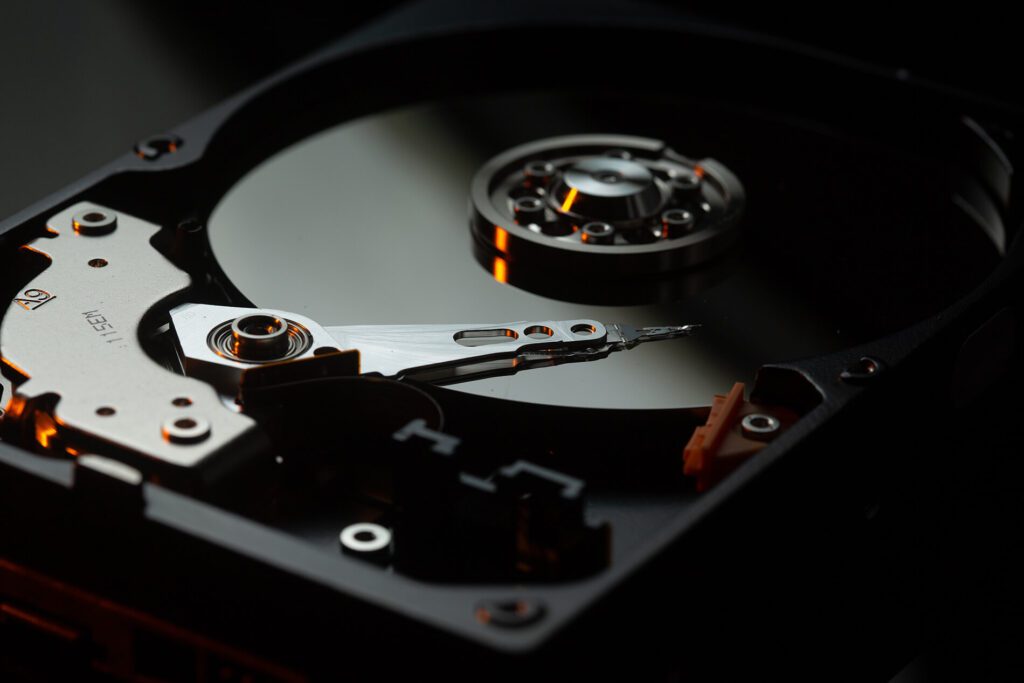
While modern technology is incredible the simple fact is that hard drives are prone to fail. If your entire backup strategy falls down on the back of that fact then it’s time to rethink.
The 3-2-1 backup rule
The 3-2-1 backup rule is a common approach that aims to give you maximum protection in the event of any disaster. This is the foundation of my own backup strategy and works as follows:

Have at least three copies of your data
The 3-2-1 rule states that in addition to your main copy of your data you should have at least two additional backups. This means that not only are you covered if your main drive fails, but you also have cover if your backup drive fails.
Store your copies on two different media
Obviously if you keep your backups on the same drive as your master files then if the drive fails you lose both. IT’s more common to have multiple failures within the same storage type so you should aim to have backups on a different storage type. If your main data is on an internal drive, you should have a copy on a different type such as an external drive, removable storage or the cloud.
Keep at least one copy offsite
This one is really in case of a particular disaster such as fire or theft. It’s also the one that most people miss. The risk of this kind of disaster is, hopefully, less than the very real risk of hardware failure BUT it’s important that you consider all possibilities.
You could have 100 copies of your data across multiple hard drives but if your house burnt down you’d lose everything. Similarly, if you suffer a theft and your computer and hard drives are taken then your images are gone.
If you follow all three guidelines for the 3-2-1 rule then you’re in pretty good shape.
This all sounds very expensive
As photographers, when we talk about data we’re normally talking about a LOT of data. RAW files from my Canon EOS 5D Mark III are typically around 25Mb each. It’s pretty clear that we’re talking about a huge amount of data and you may be thinking that amount of storage is expensive.
Well, to a certain extent you’re right but I’d argue that while our cameras are producing higher resolution images and bigger files, digital storage has never been cheaper. There is a cost of course but it comes down to what value you put on the images you’re backing up.
This all sounds very complicated
While it might sound complex the beauty is that, once we’ve configured everything, our process will be pretty much automated. We want to avoid you having to remember to back things up. By relying on manual backups we introduce a huge risk of human error.
Our ideal photography backup solution is robust AND automated. So if we spend a bit of time carefully setting things up we can basically ‘set and forget’.
My photography 3-2-1 backup setup
To show how I’ve applied the basic 3-2-1 rule principles above to my own workflow here is how I have things setup. It’s not perfect but it serves me well.
Shooting with dual card slots
We haven’t really touched on the actual shooting stage yet but this is especially important if you’re shooting commercial photography. The time between capturing a frame and the first backup is arguably the highest risk.
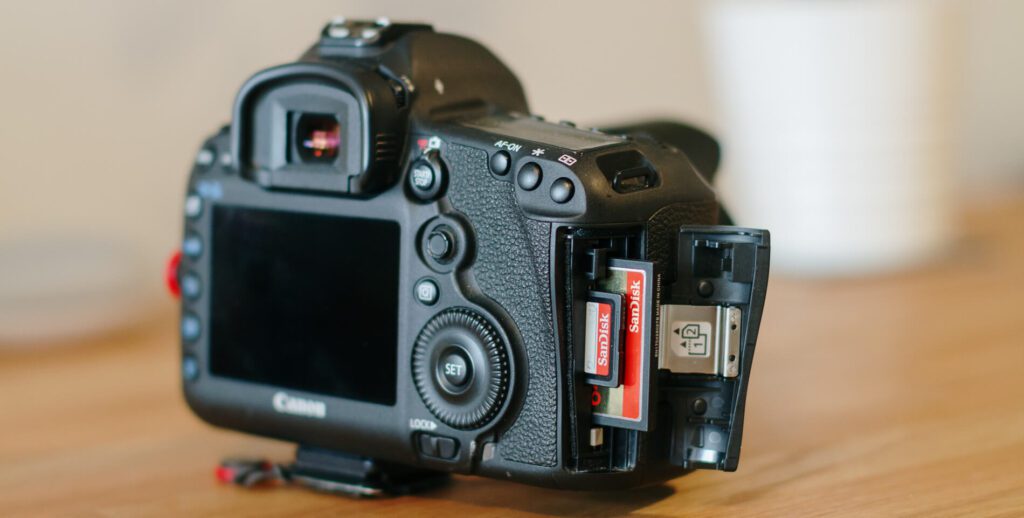
Because I shoot on a Canon 5D Mark III I have the luxury of having two card slots. This means that the second I press the shutter the image is immediately saved into two locations – one onto a CF card and another onto an SD card. I’m now covered if a card gets corrupted or an image is accidentally deleted. We’re off to a good start!
Bonus tip: Until the moment I copy the images off my card(s) I’m at increased risk. If the images are particularly valuable (If I’m shooting a commercial shoot for example) it’s a good idea to pop one of the cards into a pocket. Then if the worst happens (i.e I lose my bag or have it stolen) I still have a copy of my images.
Backing up files automatically
The moment I get home from a shoot the first thing I do is import the images into Lightroom. This is a critical step because the moment I’ve done that I’m covered because the rest of my backup process is fully automated.
Here’s how I have everything setup:
My iMac and Master HD
The only files I keep on my iMac’s internal HD are applications and system settings. All my images, documents etc are kept on an external Seagate 3TB HD. While not critical to my backup strategy specifically, it does offer me some additional disaster recovery. If my iMac suddenly dies, I can just plug the drive into my MacBook* and continue working.
*I appreciate not everyone has the luxury of having a second machine but for me this is a great backup to have.
Clone HD
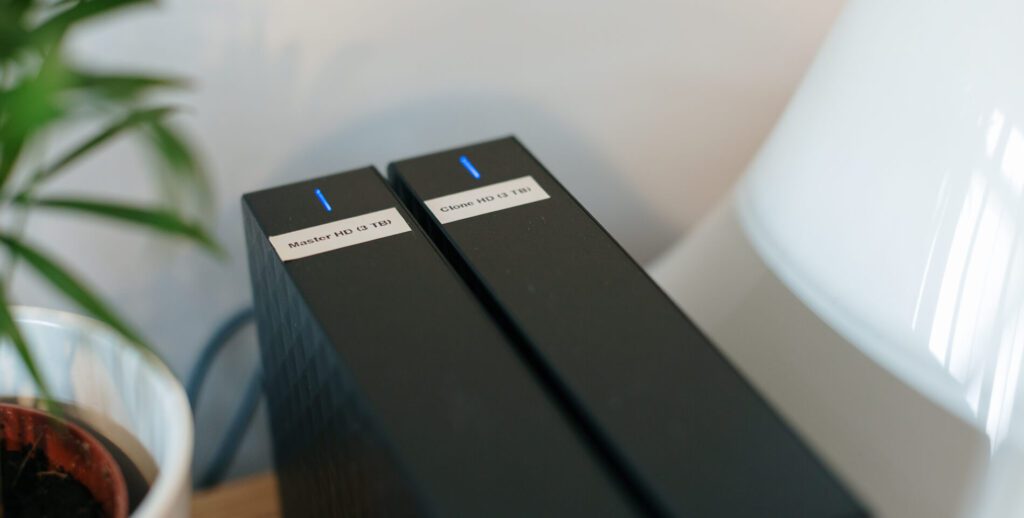
As well as the Master HD I have a second, identical Seagate 3TB HD permanently connected to my iMac. I use a fantastic piece of software called ChronoSync for Mac which automatically keeps my Clone HD in synch with my Master HD multiple times a day. Should my Master HD fail, I can simply swap it for the Clone and continue working.
Time Machine
As an additional security measure I have a LaCie 5TB External HD connected to my iMac which is configured to Apple’s Time Machine. This gives an added level of protection. If, for example, I were to accidentally delete images from my Master HD I can simply roll back via the Time Machine. Without this additional step in place, my mistake would automatically copy over to my Clone HD and I’d lose the images in both places.
Cloud backup with Backblaze
Finally, I use the excellent Backblaze as a cloud backup solution. Backblaze is configured to automatically backup my Master HD to the cloud in real time. In the event of a complete disaster I could recover all my files. Downloading a huge amount of data from a cloud backup isn’t a fast process but Backblaze do offer a service where they can send you a copy of your data on a hard drive. Neither is immediate BUT don’t forget that this is our worst case scenario.
Planning for disaster and data recovery
So, going back to our 3-2-1 rule strategy we’re in good shape. From the moment we press the shutter we have two copies of our image but the real magic happens the moment the images are imported into Lightroom. From then, we automatically have 4 copies of our images (Master HD, Clone HD, Time Machine and in the cloud via Backblaze). Our images are stored on 4 different media (2 x identical hard drives, our Time Machine and in the cloud) AND one of those copies is securely offsite thanks to the Backblaze cloud storage.
This gives a fantastic level of security and covers a very wide range of disaster situations:
- iMac dies – Plug the Master HD into the MacBook and continue working
- Master HD dies – Continue working from Clone HD, order replacement
- Clone HD dies – Continue working as normal, order replacement
- Time Machine HD dies – Continue working as normal, order replacement
- Two drives die at once! – Recover from the third drive or cloud
- Office is broken into, all equipment stolen – Recover from cloud when machine is replaced
- House burns down! – In this situation you have bigger things to worry about but can be safe in the knowledge that, when you’re back up and running your files can be recovered from the cloud.
You get the idea…
What about when you run out of space?
This is a great point, and not one I’ve had to deal with yet although it is accounted for in my backup strategy. As I said, hard drives are pretty cheap these days so when I start to run out of space I’ll archive off older photographs by year.
I’ll pick up two LaCie 1TB Rugged drives (these are nice and small as well as reliable and robust) to act as Archive HDs. I’ll back up older photos onto one of the drives and then… you guessed it, make a second copy of the archive onto the second drive. I can then delete the older files from the Master HD.
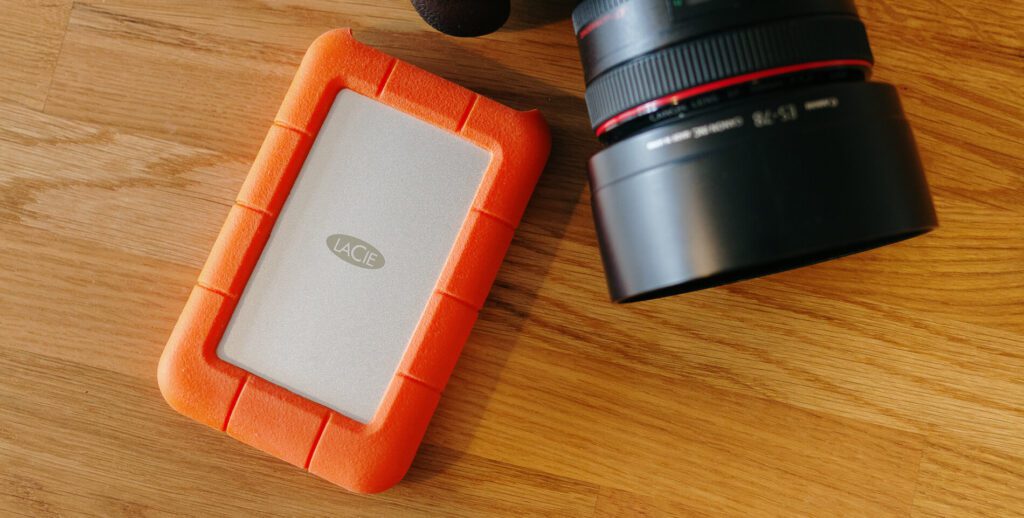
This new Archive HD can then be backed up to the cloud in exactly the same way. You can have as many of these archive pairs as you need for your setup (and shooting habits). These little drives are great and relatively low cost.
Final thoughts
The setup I’ve detailed above isn’t hugely expensive but it is robust. It’s not 100% of course – there are edge cases where you may still lose data but it does mean you can sleep safe knowing you’ve put sensible steps in place to protect your valuable images.
Buy cheap, buy twice…
One final point worth making – Hard drives are relatively cheap nowadays BUT I’d strongly recommend paying a little more for reputable brands. There’s an old adage ‘Buy cheap, buy twice’. If you’re going to go to the trouble of putting these procedures in place it’s worth making sure the hardware is appropriate.
Even expensive hard drives fail but it’s worth checking out the reviews before buying to look for any particular red flags in terms of reliability. Our system of course allows for redundancy and failure – that’s the point – but ideally you want to be able to trust your drives so I’d personally avoid skimping on those.
I’m not an expert by any means but my setup has been designed to work for me, to automate the process to remove the weak link (me!) and to cover me in as many possible disaster scenarios as possible and it works well.
I hope this helps you to think a bit more about your own setup. There’s no one perfect solution of course. I’d love to hear how you’ve tackled the same problems – let me know in the comments below!


Morris
18th December 2020 at 1:55 pm
Similar setup to your own Simon. Though I am not a commercial photographer I do recognise the value in the images I have taken.
I shoot to two cards in camera like yourself (Olympus EM1 MkII).
I upload onto computer when I get home.
Automatically backed up offsite within minutes of me putting onto computer (Carbonite)
Backed up to external hard drive that night
I NOW delete the SD cards from the camera.
I then cull my images within a couple of days so that I am not using up space for images I no longer wish to keep. This is then reflected in my external hard drive and my off site backup.
I feel pretty confident that if the worst case scenario happened (other than a meteor strike maybe) my images would be retrievable.
Now I just need to scan all those old photographs and negatives 🙂
Simon Wiffen
18th December 2020 at 2:06 pm
Thanks for taking the time to comment Morris! Yep as you say, whilst commercially-minded photographers are maybe able to put more of a monetary value on their images I think photographs in general have always been priceless so it makes sense for everyone to make sure they’re covered. Memory is pretty cheap nowadays so there’s not really any excuse. Glad to hear you’re taking good steps to keep yours safe!